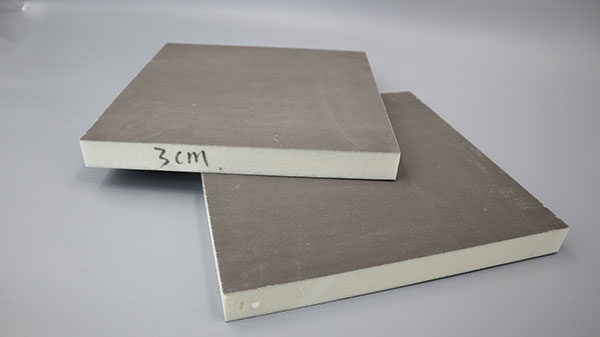
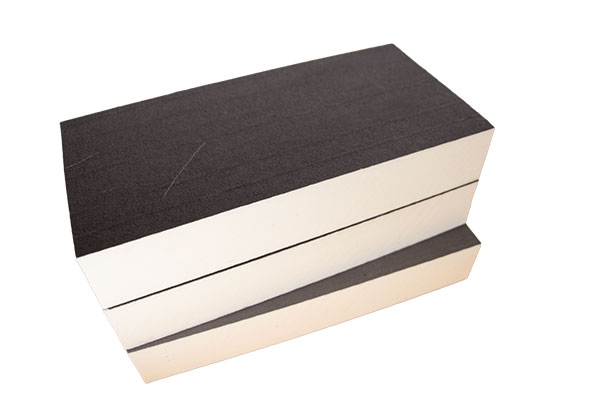
Rigid insulation, often made from materials like polyisocyanurate (聚醚), extruded polystyrene (XPS), expanded polystyrene (EPS), or mineral wool, is a popular choice for insulating roofs, walls, and foundations due to its high R-value per inch. However, while it is effective, it is not a perfect solution for every scenario.
Before committing to a rigid board for your next building project, it is crucial to understand the potential drawbacks. This article explores the cons of rigid insulation, answers common homeowner questions, and provides a guide on how to mitigate these disadvantages.
The Core Disadvantages of Rigid Insulation
To fully understand the downsides, we need to break down the primary categories where rigid insulation falls short compared to alternatives like spray foam or fiberglass batts.
- Material and Installation Cost: Rigid foam boards generally have a higher upfront cost per square foot than traditional fiberglass batts. While they offer better insulating power for their thickness, the initial investment can be a significant barrier for large projects.
- Air Sealing Complexity: While the boards themselves are impermeable to air, achieving a perfect air seal requires meticulous taping of all seams. If the joints are not properly sealed with specialized tape or caulk, the insulation’s effectiveness drops dramatically due to air leakage.
- Flammability and Fire Concerns: Most rigid foam insulations (EPS, XPS, Polyiso) are combustible and release toxic fumes when burned. Building codes almost always require them to be covered with a thermal barrier, such as drywall, which adds time and cost to the project.
- Susceptibility to Pests: Some types of rigid foam, particularly softer EPS, can be chewed through by rodents and insects looking to create nests or gain access to a structure. This creates pathways for pests and voids in the insulation layer.
- 環境影響: Many rigid insulation boards utilize blowing agents with high Global Warming Potential (GWP), especially older formulations of XPS. Furthermore, they are derived from fossil fuels and are difficult to recycle.
- Installation Rigidity and Fit: Unlike fluffy batts or spray foam, rigid boards do not conform to irregular shapes. They require precise cutting to fit around wires, pipes, and odd framing, leaving small gaps that must be filled, usually with spray foam.
Common Questions and Answers About Rigid Insulation
To help you decide if rigid insulation is right for you, here are two of the most common questions builders and homeowners ask regarding its drawbacks.
Is it true that rigid insulation can lose its R-value over time?
Answer: Yes, this phenomenon is known as “thermal drift,” and it primarily affects foam boards sealed with gases (like Polyiso and XPS).
When these boards are manufactured, they are blown with special gases that give them a high initial R-value. Over several years, some of these gases slowly escape and are replaced by air. This causes the R 值 to decline slightly until it stabilizes at a lower, long-term value. While manufacturers factor this into their labeling, a 10-year-old board may not perform quite as well as a brand-new one. EPS (Expanded Polystyrene) is less susceptible to this because it uses air in its manufacturing process.
Can I install rigid insulation myself, or do I need a professional?
Answer: While you 可以 install rigid insulation as a DIY project, the cons related to air sealing and fire safety make professional expertise valuable.
The physical act of cutting and placing the boards is straightforward. However, the difficulty lies in the details:
- Air Sealing: Amateurs often fail to tape seams perfectly, turning a high-performance assembly into a leaky one.
- Code Compliance: Professionals know exactly what thickness of thermal barrier (drywall) is required to cover the foam to meet fire safety codes.
- Condensation Control: Incorrect placement of rigid insulation in a wall cavity can trap moisture, leading to rot and mold.
The Benefits of Understanding the Cons
Analyzing the disadvantages of rigid insulation isn’t about dismissing it as a product, but about ensuring a successful build. Understanding these drawbacks provides several key benefits:
- Prevents Costly Mistakes: Knowing that air sealing is difficult means you will allocate extra budget for high-quality tape or a professional installer, preventing future energy loss.
- Ensures Safety and Code Compliance: Awareness of the fire hazard ensures you will not leave the foam exposed in a living space, keeping your family safe and passing building inspections.
- Promotes Environmental Responsibility: Understanding the high GWP of certain foams allows you to choose alternatives with lower environmental impact, such as rigid mineral wool or EPS with reduced GWP blowing agents.
- Improves Performance: By planning for the “rigidity con,” you can ensure you have the right tools (like a hot knife for cutting) and materials (like canned spray foam) to seal gaps around irregular shapes, resulting in a superior thermal envelope.
How to Mitigate the Cons of Rigid Insulation
If you have decided that rigid insulation is the right material for your project despite its cons, here is how to address the major drawbacks during your project.
Sourcing and Selection (Addressing Cost and Environmental Impact)
- Research: Look for locally supplied boards to save on shipping costs.
- Compare: Check the price per R-value. Sometimes a slightly thicker EPS board is cheaper than a thin XPS board with the same R-value.
- Check Labels: If environmental impact is a concern, look for manufacturers who provide Environmental Product Declarations (EPDs) and choose boards with blowing agents that have a low Global Warming Potential.
Preparing for a Precise Fit (Addressing Rigidity and Gaps)
- Create a Template: For irregular spaces (like around electrical boxes), create a cardboard template first. Transfer this shape to the rigid board to ensure a tight fit.
- Use the Right Cutter: For clean cuts, use a sharp utility knife for thin boards or a special insulation saw/hot knife for thicker boards. Rough cuts leave bigger gaps.
- The “Stuff It” Method: Always have a can of minimal-expanding spray foam on hand. Use it to fill the inevitable gaps around wiring and plumbing that the rigid board cannot conform to.
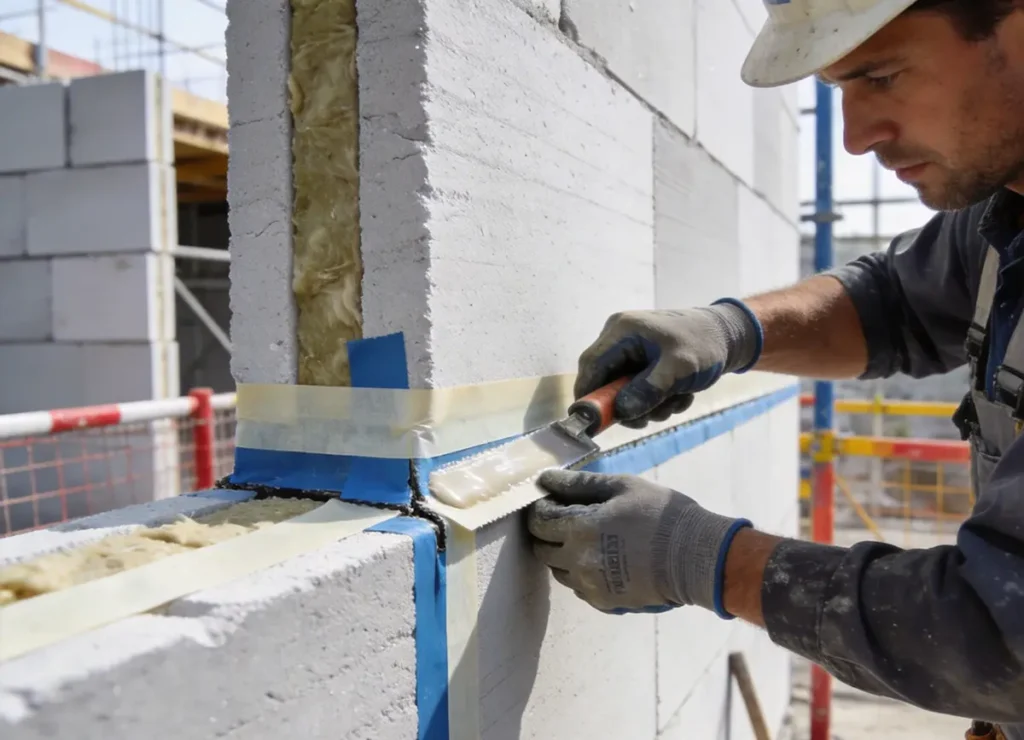
Achieving an Airtight Seal (Addressing Air Leakage)
- Clean the Surface: Ensure the faces of the boards are clean and dry before taping.
- Use Compatible Tape: Do not use standard duct tape. Use manufacturer-recommended seam tape or high-quality housewrap tape designed for foam.
- Stagger the Joints: Just like with drywall or plywood, stagger the seams of your rigid boards so they don’t line up with each other, which creates a longer path for air leakage.
- Acoustic Sealant: For the perimeter of the boards where they meet the wood framing, use a tube of acoustic sealant (big stretch caulk) to seal the edge before pressing the board into place.
Fire Safety and Finishing (Addressing Flammability)
- Consult Local Codes: Check your local building code to determine the required “thermal barrier.” In habitable spaces, this is almost always 1/2-inch gypsum board (drywall).
- Install the Barrier: Immediately after the insulation is installed and taped, plan to install the fire-rated covering to protect the material from ignition sources and comply with safety standards.
Practical Outcomes and Results
Here are three scenarios illustrating how these disadvantages manifest in real-world applications.
The “Leaky” Renovation
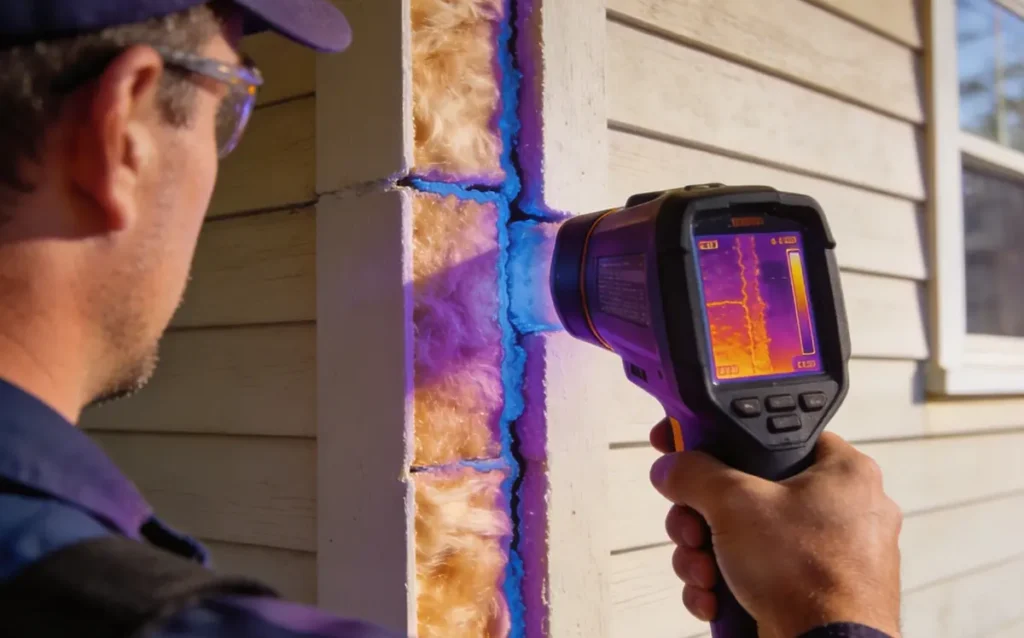
The Scenario: A homeowner installed rigid foam boards between basement wall studs but used cheap painter’s tape on the seams and did not seal the edges.
The Outcome: During a winter inspection, the homeowner noticed cold drafts along the baseboard. A thermal imaging camera revealed cold air infiltrating through the unsealed seams. The energy savings were far lower than expected, and the homeowner had to remove the drywall to properly tape the seams with the correct tape, doubling the labor cost.
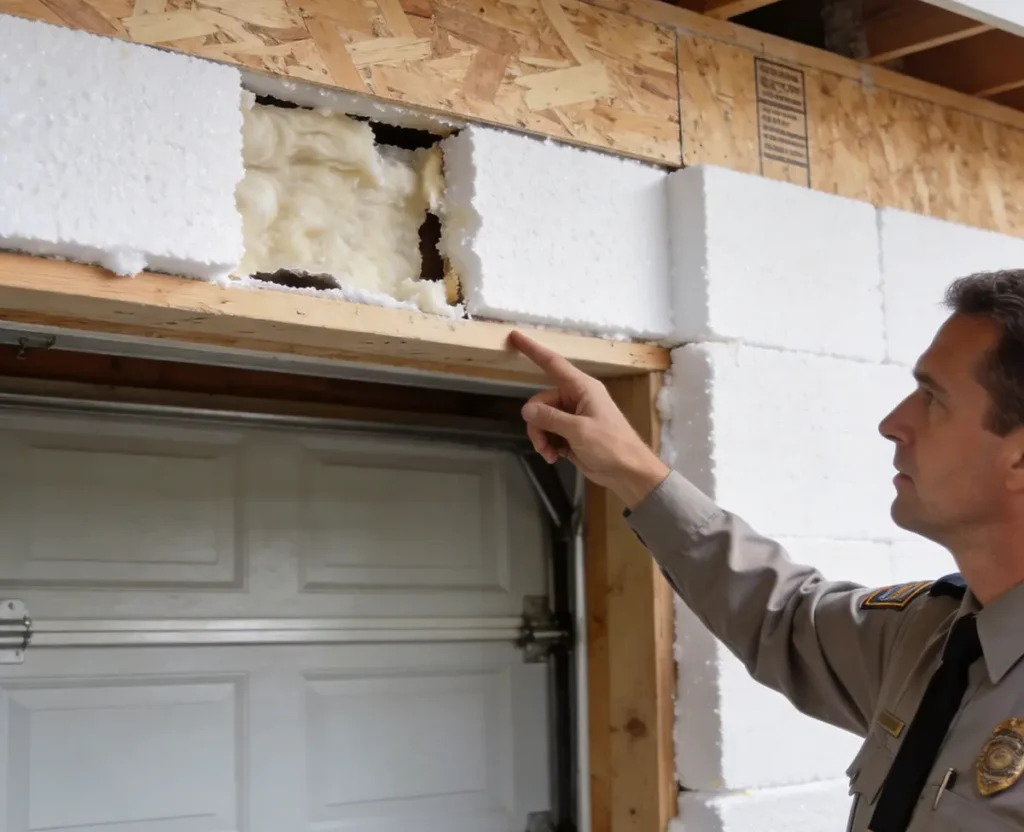
The Pest Problem
The Scenario: A property owner used EPS rigid insulation on the exterior of a foundation before backfilling with soil.
The Outcome: Within a year, ants and field mice had chewed channels through the soft EPS, creating a direct path from the soil into the sill plate of the house. The insulation had to be excavated, and the damaged sections were replaced with borate-treated rigid foam or rigid mineral wool, which pests avoid.
The Code Violation
The Scenario: A well-meaning DIYer finished their garage workshop by installing polyiso boards directly onto the walls and covering them with plywood for a clean look.
The Outcome: When they went to sell the house, the home inspector flagged the garage. Because the plywood did not meet the fire code requirement for a thermal barrier over foam insulation, the entire wall assembly had to be torn down and re-done with 5/8″ Type X drywall over the foam to pass the inspection and close the sale.